DIY Window Well Installation vs. Hiring a Minneapolis Contractor: The Real Trade-Offs
An inspector flagged your basement windows, your closing date is set, and now you need a working window well fast. Before you pick up a shovel, it helps to know what DIY vs contractor window well installation actually involves in Minneapolis. Our frost line runs deep, our clay-heavy soil holds water, and both change the math on whether you should do this yourself or hire it out. This guide walks through the job step by step, flags the parts homeowners handle well, and names the parts worth paying for.
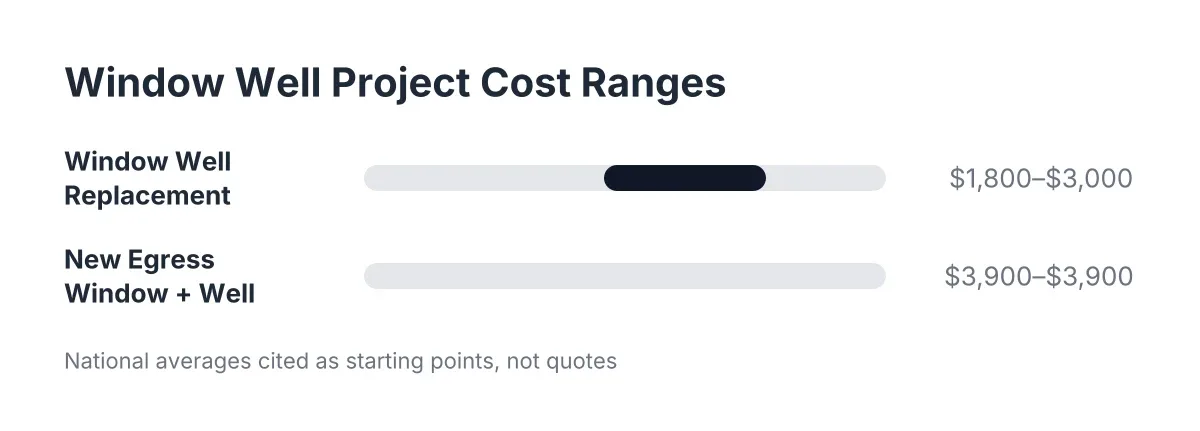
One honest note up front: pricing varies by project, so treat any national figure as a starting point, not a quote. According to HomeAdvisor, window well replacement averages $2,200, with most homeowners spending between $1,800 and $3,000. If you also need an egress window cut in, Angi puts the average for a new egress window and well at about $3,900. Those numbers help you spot a quote that is wildly off in either direction.
Step 1: Figure Out Whether You Need a Repair, a Replacement, or a Full Egress Upgrade
First, read your inspection report carefully. A rusted well with a sound window is a different job than a basement bedroom with no legal exit. The bedroom egress requirement is what trips up most pre-sale fixers; if a basement room is listed as a bedroom, code compliance requires an egress window and a well sized for escape.
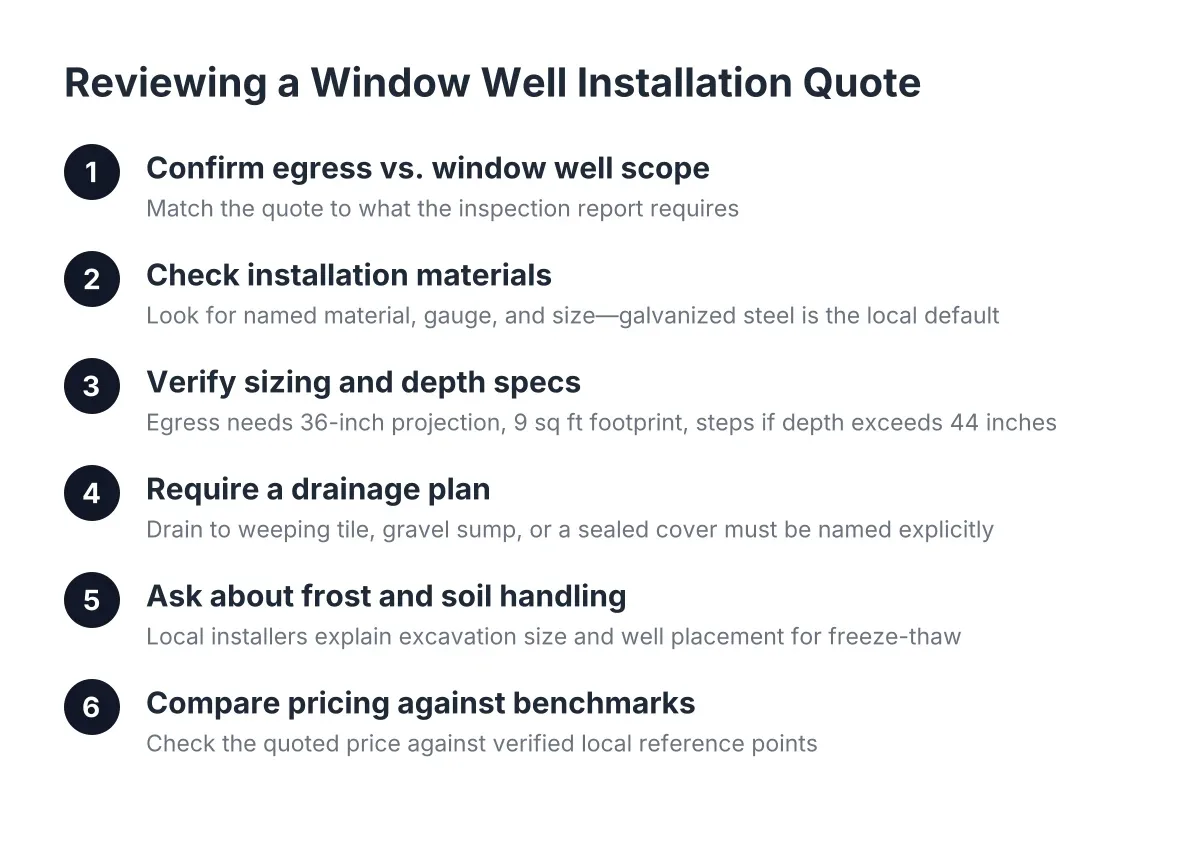
The size requirements are specific. According to HomeAdvisor, IRC egress code requires a well that projects at least 36 inches from the house with a nine square foot footprint, and the window itself needs a minimum net clear opening of 5.7 square feet. A standard well swap is a weekend project. An egress upgrade means cutting the foundation, pulling permits, and usually digging deeper rather than wider.
Here is the honest split:
- Well-only replacement (same size, existing window): realistic DIY territory.
- Well plus drainage fix: DIY-capable if you can dig to the footing drain, otherwise hire out.
- Egress window plus new well: hire a window installer for the cutting and setting; you can still dig to save money.
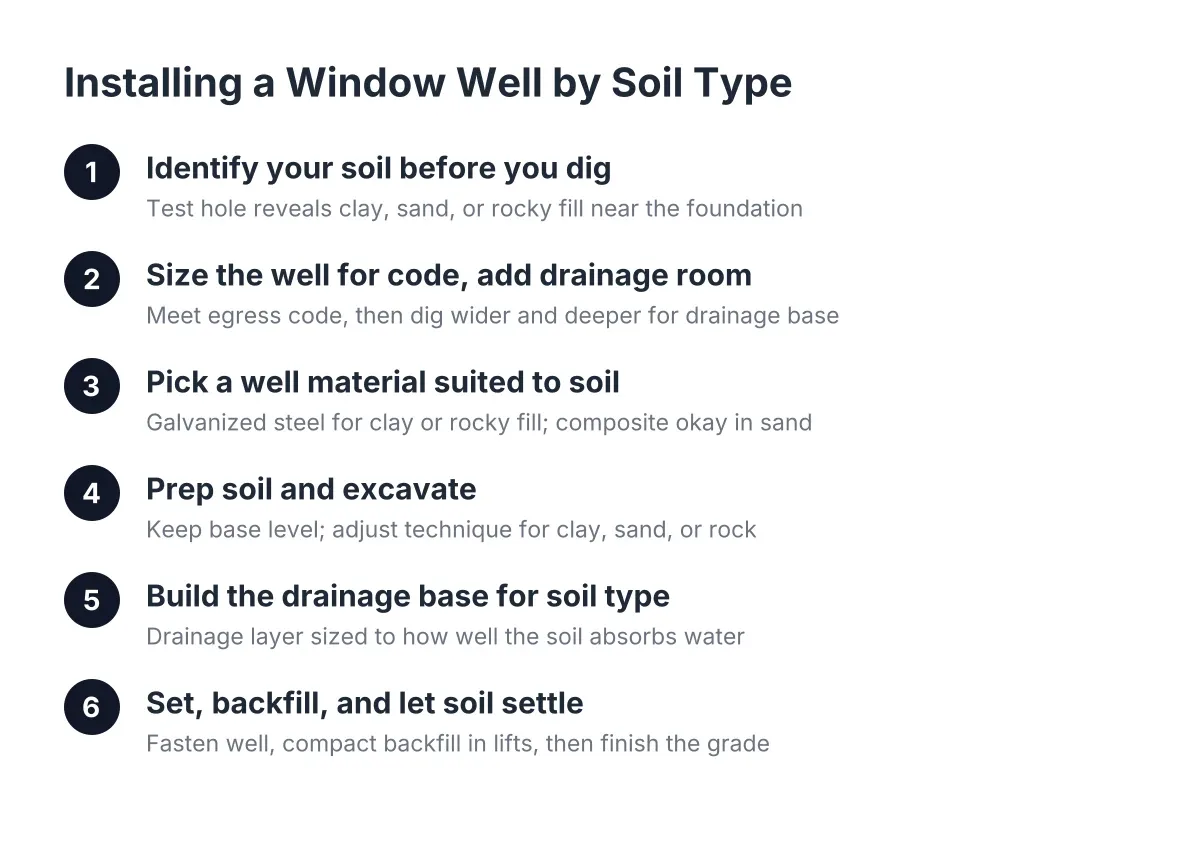
Step 2: Choose the Well Material Before You Dig
Next, pick the well itself, because its dimensions drive your excavation. In Minneapolis you have three common options, and the freeze-thaw cycle here punishes the wrong choice.
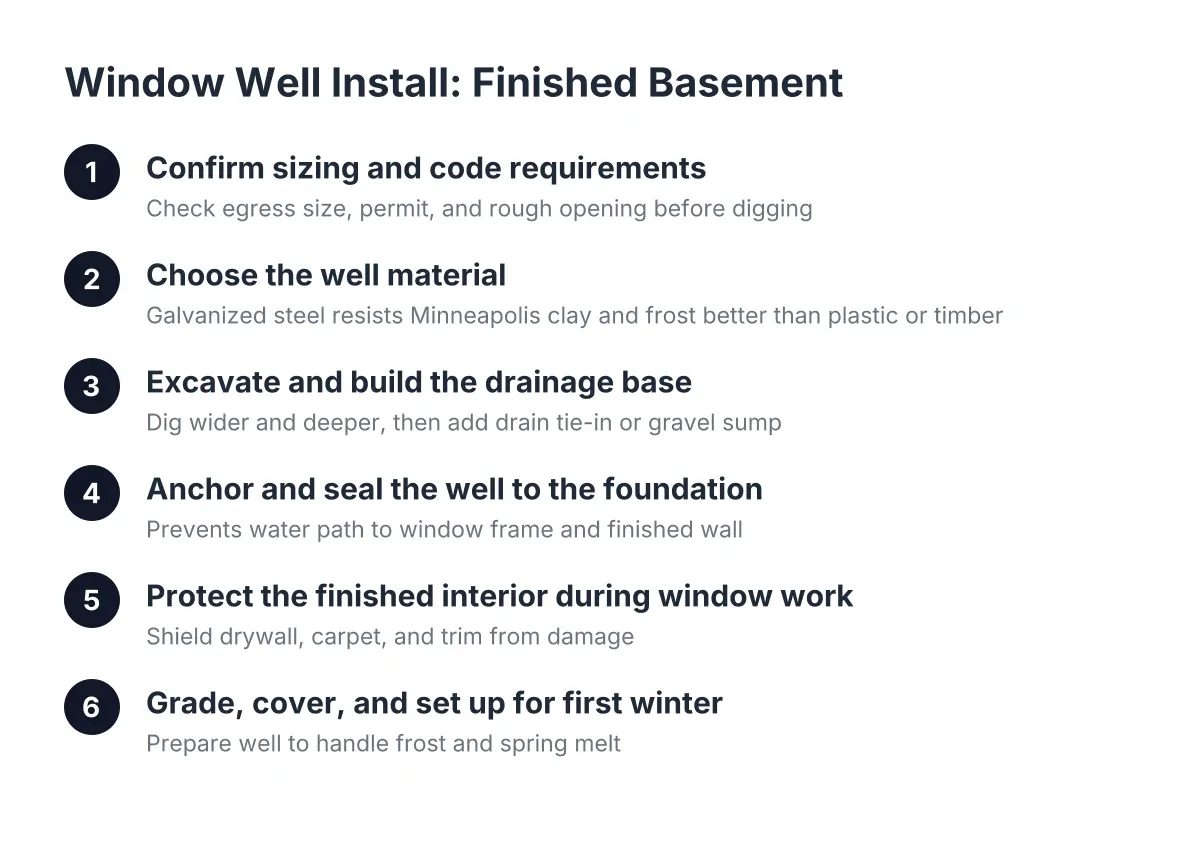
Galvanized steel wells are the workhorse. A galvanized egress window well resists rust, handles soil pressure from our expansive clay, and bolts straight to the foundation. The corrugated versus galvanized comparison you see online is partly a false choice; most corrugated wells are galvanized. The real question is gauge and depth rating. Deeper wells need heavier steel because frost-driven soil movement pushes hard against the sides.
Plastic and composite wells look clean but can bow or crack when saturated clay freezes against them. Timber wells built from 4x4s show up in a lot of DIY videos; shallow ones can work without fastening to the foundation, but deep egress wells benefit from being anchored to the house, and timber makes that connection weaker. For a pre-sale fix that has to pass a buyer's reinspection, galvanized steel is the safe answer in 2026, same as it has been for decades.
Step 3: Plan Drainage for Minneapolis Frost Depth and Clay Soil
Drainage is where generic national advice fails Minneapolis homes. Frost here reaches several feet down, and much of the metro sits on clay that drains slowly. A well without a working drain becomes a bathtub against your foundation during spring melt. However, a DIY window well drain only works if there is somewhere for the water to go.
Check whether your home has a footing drain or drain tile system. If it does, the well drain should tie into it: dig to the footing, set a vertical drainpipe or a gravel column from the well floor down to the tile, and backfill with washed rock. If there is no drain tile, a gravel sump under the well helps in sandy pockets of the metro but does little in heavy clay. In that case, a sloped grade away from the house and a tight-fitting cover do more work than the gravel.
One more local trap: irrigation lines. If excavation disturbs a sprinkler line, cap it well away from the well, not next to it. A failed fitting beside the well can flood it, and that becomes a water stain the buyer's inspector will find.
Step 4: Dig the Hole, but Dig It Smart
Excavation is where DIY saves real money, even if you hire a contractor for everything else. Who installs window wells matters less for this step than who digs the hole; a contractor crew and a motivated homeowner move the same dirt.
Call 811 before you dig; it is free and required. Then dig about two inches wider than the well on all sides. That margin keeps you from pulling the well back out to remove dirt later. Resist the urge to over-dig. Less excavation means less backfill, less backfill means less tamping, and poorly tamped soil settles over the first winter and channels water toward your foundation. A tight hole is a dry hole.
Depth depends on the well and the drain plan. For an egress well, dig to the well's rated depth plus room for several inches of washed gravel at the bottom, or down to the drain tile if you are tying in.
Step 5: Set, Level, and Fasten the Well
Now set the well against the foundation and check it with a level before drilling anything. Mark the mounting holes at the final height and position on the foundation wall first; a well bolted on crooked is a permanent mistake in concrete.
Position matters more than most DIY guides admit. The top of the well, and later its cover, should sit just under the overhanging siding. That way rainwater running down the siding drains past the well instead of collecting behind the cover. Fasten with masonry anchors into the foundation, seal the flange contact line, and confirm the well sits an inch or two above final grade so surface water cannot spill in.
Hiring out the fastening is reasonable if you have never drilled into concrete. The common split that works: the homeowner digs, a contractor bolts the well and sets or replaces the window, and the homeowner backfills. You keep the savings on labor hours without betting your closing date on a first-time anchor job.
Step 6: Backfill, Grade, and Cover
Backfill in shallow layers, tamping each one. Loose fill looks done in October and becomes a sinkhole beside your foundation by April. Slope the finished grade away from the house.
A cover is not optional in Minnesota. It keeps snowmelt, leaves, and kids out of the well. A DIY or contractor window well cover built from clear polycarbonate works fine for a standard well; add a bead of caulk around the edge where it meets the siding, and water never gets into the well at all. For egress wells, the cover must lift or open from inside without tools, or you have traded one code violation for another.
Where DIY vs Contractor Window Well Installation Pays Off, and Where It Backfires
DIY window well installation pays off on same-size replacements with an existing drain, where the whole job is digging, bolting, and backfilling. It backfires on egress upgrades, foundation cutting, and any well where drainage is unsolved. Concrete cutting is loud, dusty, and unforgiving; one bad cut becomes a structural repair that costs more than the full installed job.
There is also a timeline angle for anyone selling. Say a homeowner in south Minneapolis gets a repair addendum three weeks before closing. In that scenario, a DIY approach means a weekend of digging, a trip for the well and gravel, and hoping the first attempt passes reinspection. Hiring a local window installer means one scheduled day of work and paperwork that satisfies the buyer's agent. Suppose the DIY route saves a thousand dollars but the reinspection fails on the drain; the renegotiation that follows can cost more than the savings. Professional window well installation comes with someone accountable for the result, which is worth money when a buyer is watching.
The basement is also a forgiving place to learn. Finish work down there is rarely visible, and the one requirement that matters is that water stays out. If you have been waiting for a low-stakes project to build skills, a standard well swap is a fair one.
Quick Decision Guide: DIY or Contractor Window Well Installation
Use this checklist to decide in five minutes:
- Same-size well, window stays, drain exists: DIY is reasonable.
- Well plus new drain, sandy soil: DIY-capable with a weekend and a strong back.
- Well plus new drain, clay soil, no drain tile: get a professional opinion on drainage first.
- Egress window required for a bedroom: hire out the cutting and window installation; dig yourself if you want savings.
- Closing date within 30 days: hire it out and get the work documented.
Whatever route you take, get a written quote first, even if you plan to DIY. According to Angi, egress window installation averages $4,244 nationwide, with most homeowners spending between $2,723 and $5,898 per window; a local quote tells you what the job costs on your block, not the national average. A free quote also gives you a documented number to hand the buyer's agent, which keeps the negotiation grounded in facts instead of fear. In Minneapolis, the right answer is usually a split: your shovel, a local installer's saw and anchors, and a drain designed for the soil you actually have.
If you need basement egress window installation, Minneapolis Window Pros can help.
Prefer to talk it through? Call (612) 482-9787 — a quick call is usually the fastest way to get a straight answer for your situation.