Window Well Installation and Soil: Handling Clay, Sand, and Rock in Minneapolis
Most window well guides skip the part that actually decides whether the well stays dry: the dirt. In Minneapolis, window well installation and soil conditions go together, especially when it comes to managing window well drainage soil effectively. Heavy clay south of downtown, sandier ground near the river, and random buried rock from old fill all change how you dig, what drainage you build, and how you backfill. This guide walks through the job step by step, with the soil decisions called out at each stage, so you can judge whether to tackle it yourself or know what a good crew should be doing if you hire it out.
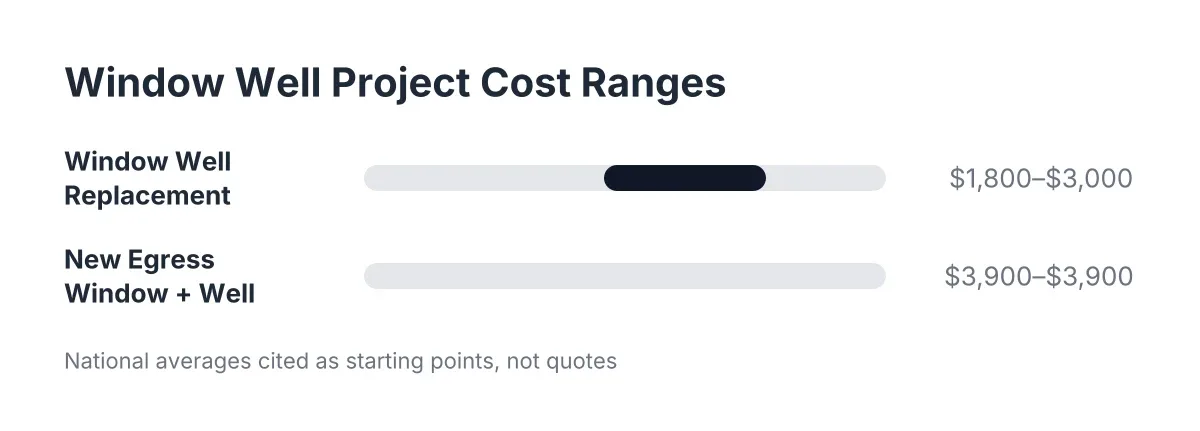
One note before the steps. Angi puts the cost of installing a window well anywhere from $500 to $1,500 or more, and about $3,900 on average when you add an egress window with the well. HomeAdvisor reports window well replacement averages $2,200, with most homeowners spending between $1,800 and $3,000. Your materials cost for a DIY job will land well under that, but the gap pays for excavation, drainage, and compaction done right. Those three things are exactly where soil mistakes show up later as water in the basement.
Step 1: Identify Your Soil Before You Dig
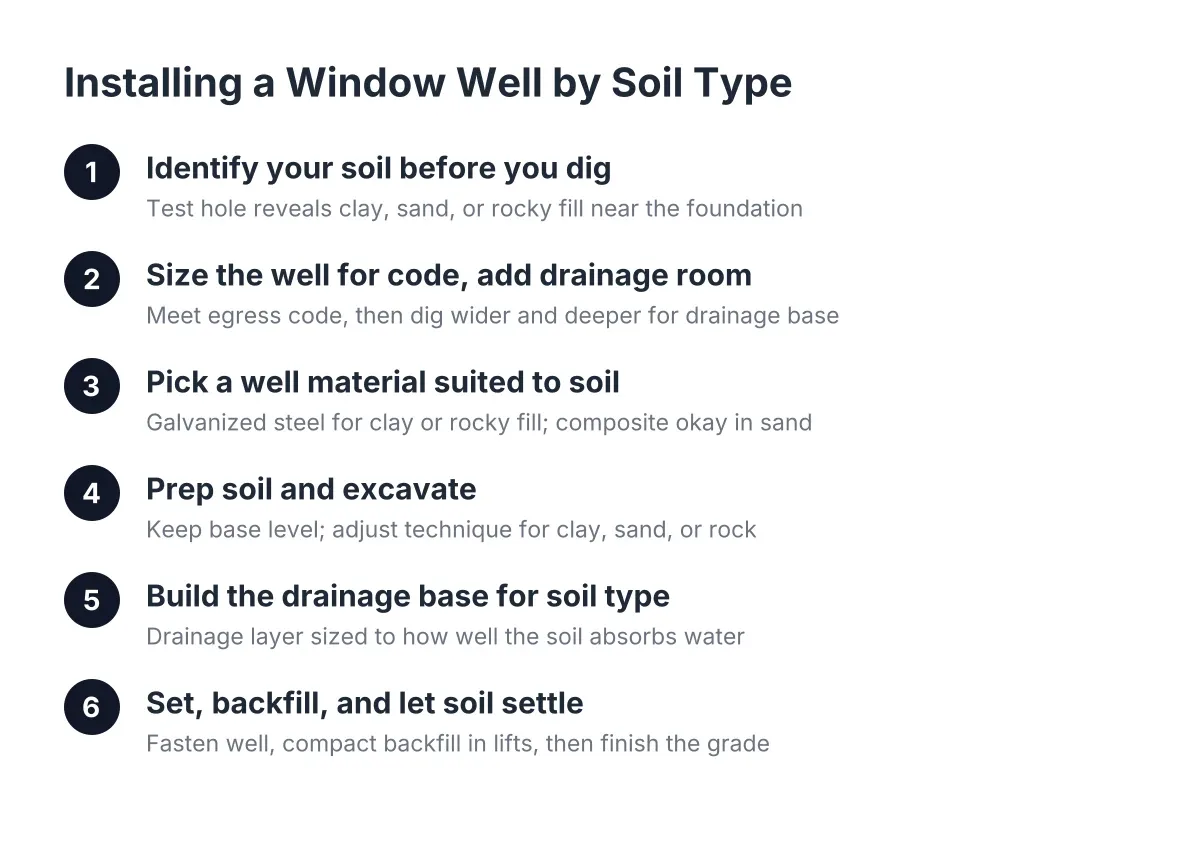
First, figure out what you are digging into. Dig a test hole a foot or two down near the foundation, away from utilities, and look at what comes out.
- Clay: dense, sticky when wet, holds its shape when you squeeze it. Common across much of Minneapolis. Clay drains slowly, so water sits in the well unless you build drainage under it.
- Sand or sandy loam: loose, falls apart in your hand. Drains fast, but the excavation walls want to cave, and backfill settles if you rush it.
- Rock and old fill: chunks of concrete, brick, or fieldstone mixed into the soil. Common around older foundations where the original builder backfilled with whatever was on hand. Rock slows digging and leaves voids in the backfill if you do not sort it out.
Call 811 before any digging. It is free, and gas or electric lines often run close to basement windows. In addition, check whether your project needs a permit. If the window well serves a bedroom egress window, Minneapolis will care about code compliance, and an unpermitted well can surface at resale or inspection.
Step 2: Size the Well for Code, Then Add Room for Drainage
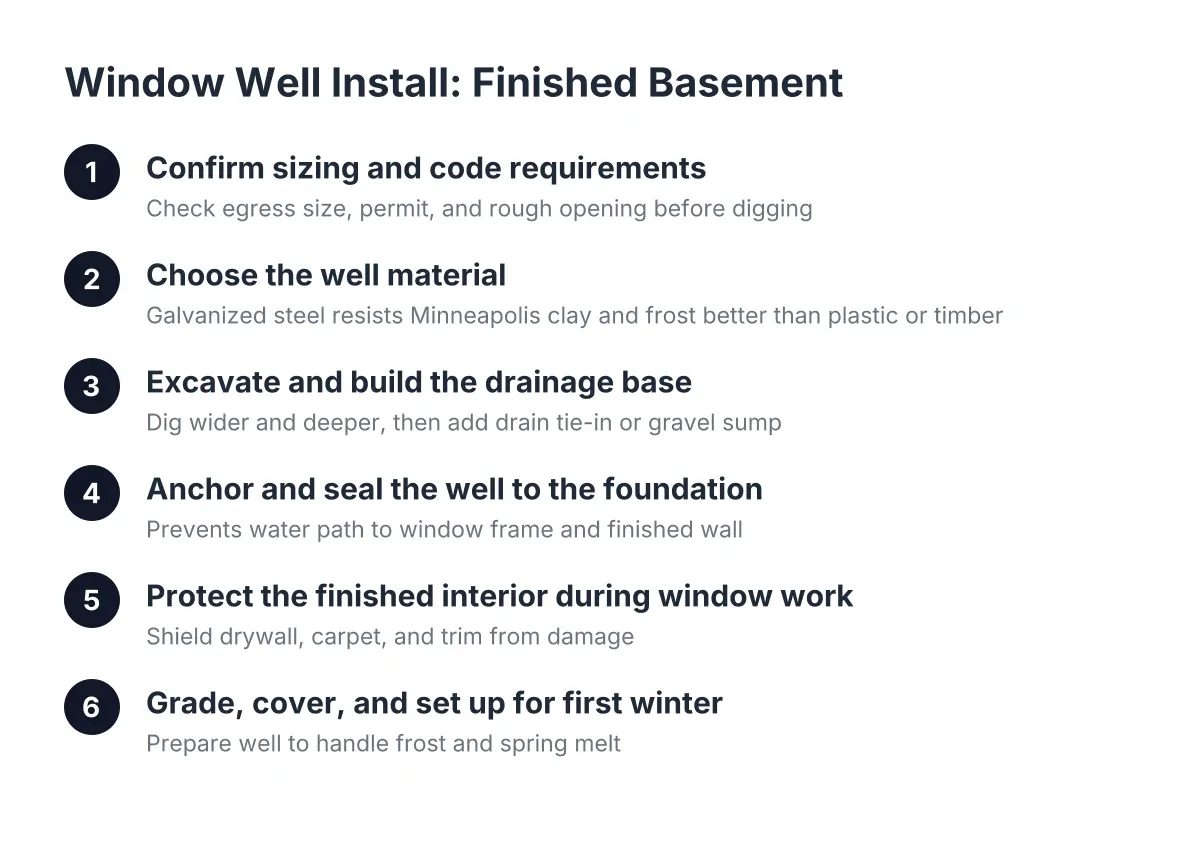
Size the well before you buy anything, because egress rules set the floor. According to HomeAdvisor, IRC egress code requires a well that projects at least 36 inches from the house with a nine square foot footprint, plus a window with a minimum net clear opening of 5.7 square feet. The City of Minneapolis also requires each bedroom window below the fourth floor to be at least 20 inches wide by 24 inches high with nothing blocking it.
However, code minimums are not your excavation dimensions. Plan to dig 6 to 12 inches wider than the well on each side so you can work, and 8 to 12 inches deeper than the bottom of the well for a drainage base. In Minneapolis clay, lean toward the deeper end. Clay needs more stone under the well because the surrounding ground will not absorb water on its own.
Here is the trade-off to respect: dig only as much as you need. Less excavation means less backfill, less tamping, and less chance the disturbed soil settles later and funnels water toward the foundation. Oversized holes feel safer but create more settling risk.
Step 3: Pick a Well Material That Suits Your Soil
Galvanized steel wells handle Minneapolis conditions better than most alternatives, and soil pressure is the reason. Clay expands when wet and pushes hard on the well walls, especially through freeze and thaw cycles. A corrugated galvanized well resists that pressure well because the corrugation adds stiffness; thin plastic wells can bow or crack under the same load over a few winters.
In sandy soil, the pressure argument matters less, and a composite well can hold up fine. Rocky fill cuts the other way again. Sharp rock against a plastic well during backfill can gouge or puncture it, while galvanized steel shrugs it off.
For most older Minneapolis homes with clay-heavy ground, a galvanized egress window well is the practical default. It costs more than the lightest plastic option at the hardware store, but it is the difference between a well that holds its shape for decades and one you replace in ten years.
Step 4: Window Well Drainage and Soil Preparation at the Excavation Stage
Next, dig the hole. Keep the base level and stable as you go; the well and its drainage layer need uniform support, and a tilted base means a tilted well that never seals right against the foundation.
Soil type changes the technique here:
- In clay, the digging is slow and heavy, but the walls hold. Cut them clean and vertical.
- In sand, slope the excavation walls back or bench them so they do not collapse into your work area. Never let anyone work in a deep, straight-walled sand excavation.
- In rocky fill, pull rocks out and set them aside. Do not leave large rocks in material you plan to reuse as backfill; they create voids that collect water.
Minneapolis frost reaches deep, which is why footings here go down several feet. Your well does not need to reach frost depth, but frost heave is why compaction and drainage matter so much in the following steps. Water trapped in loose backfill freezes, expands, and shoves the well and even the window frame around. Dry, compacted soil heaves far less.
While the hole is open, scrape dirt clumps off the concrete foundation wall where the well flange will mount. The flange and the window need to bolt against a flush surface. Gaps behind the flange become water paths.
Step 5: Build the Drainage Base for Your Soil Type
The drainage base is where window well drainage soil management differs most between clay and sand. Water that enters the well has to go somewhere, and clay will not take it.
In clay, dig a drainage pocket below the planned gravel layer, 12 inches or more, and fill it with washed drainage rock. Lay landscaping fabric at the base before the stone goes in so fine clay particles do not migrate up and clog the rock over time. If the house has drain tile at the footing, the best setup ties the well drain down to it; that is a job worth pricing with a pro because it means digging to the footing.
In sand, the ground itself drains, so a shallower stone base often does the work. You still want 4 to 6 inches of washed rock under and inside the well so the bottom of the window never sits in ponded water.
If no drain exists and you are not adding one, plan on a solid cover over the well. A cover keeps rain and snowmelt from collecting in a well that has nowhere to send it. That is a fallback, not a substitute for drainage on a clay site.
Step 6: Set the Well and Fasten It to the Foundation
Now set the well on the prepared base. Check it for level and plumb, then check the height: the top edge should sit above finished grade so surface water runs around it, not into it. Bolt the flanges to the foundation with masonry anchors and seal the contact line so water cannot slip behind the flange.
If you are also replacing the window itself, whether a full-frame replacement, an insert replacement, or swapping old basement window blocks for an egress unit, do that work before the final backfill. Access is far easier with the hole open. This is also the stage where a lot of DIY projects stall; cutting a foundation opening larger for an egress window is concrete sawing, and that part belongs with a pro.
Step 7: Backfill in Lifts and Compact Every Layer
Backfilling is where soil discipline pays off or does not. Add soil in lifts of a few inches at a time, and tamp each lift before adding the next. Dumping the whole pile back in and walking on it once is the classic failure; the loose fill settles over the first year, grade sinks toward the house, and water follows the sunken ring straight to the well.
Clay needs the most care. Compact it firmly with a hand tamper, and slope the finished surface away from the foundation so runoff drains away from the house instead of pooling against it. Sand compacts easier but settles more if skipped, so do not shortcut the lifts there either. With rocky fill, screen out the big pieces as you go; backfill with the finer material and stone, and use the rocks elsewhere in the yard.
In addition, pack drainage stone and soil around the outside of the well itself. That locks the well in place so frost and foot traffic cannot shift it.
Step 8: Let the Soil Settle, Then Finish the Grade
Disturbed soil settles no matter how well you tamp it. Therefore, plan to come back after about a week, check the grade around the well, and top up any low spots. Hold the final slope away from the foundation. This return visit takes twenty minutes and prevents the most common long-term problem: a slow depression forming around the well that collects every rainfall.
While you are back, confirm the cover or grate fits, the window operates freely, and no soil has washed into the drainage stone.
Where DIY Ends and a Pro Makes Sense
Suppose a handy homeowner in South Minneapolis is replacing a cracked plastic well on a sandy lot, with the same window staying in place. That is a realistic weekend project: dig, base, set, bolt, backfill in lifts, return in a week. Now suppose the same homeowner is on heavy clay, wants a bedroom egress requirement met for a basement finishing project, and the opening needs to be cut larger. In that scenario, the job involves concrete cutting, a drain tied to the footing, structural header work, and a permit with inspection. According to HomeAdvisor, installing an egress window averages $4,229, and most of that price is exactly this scope.
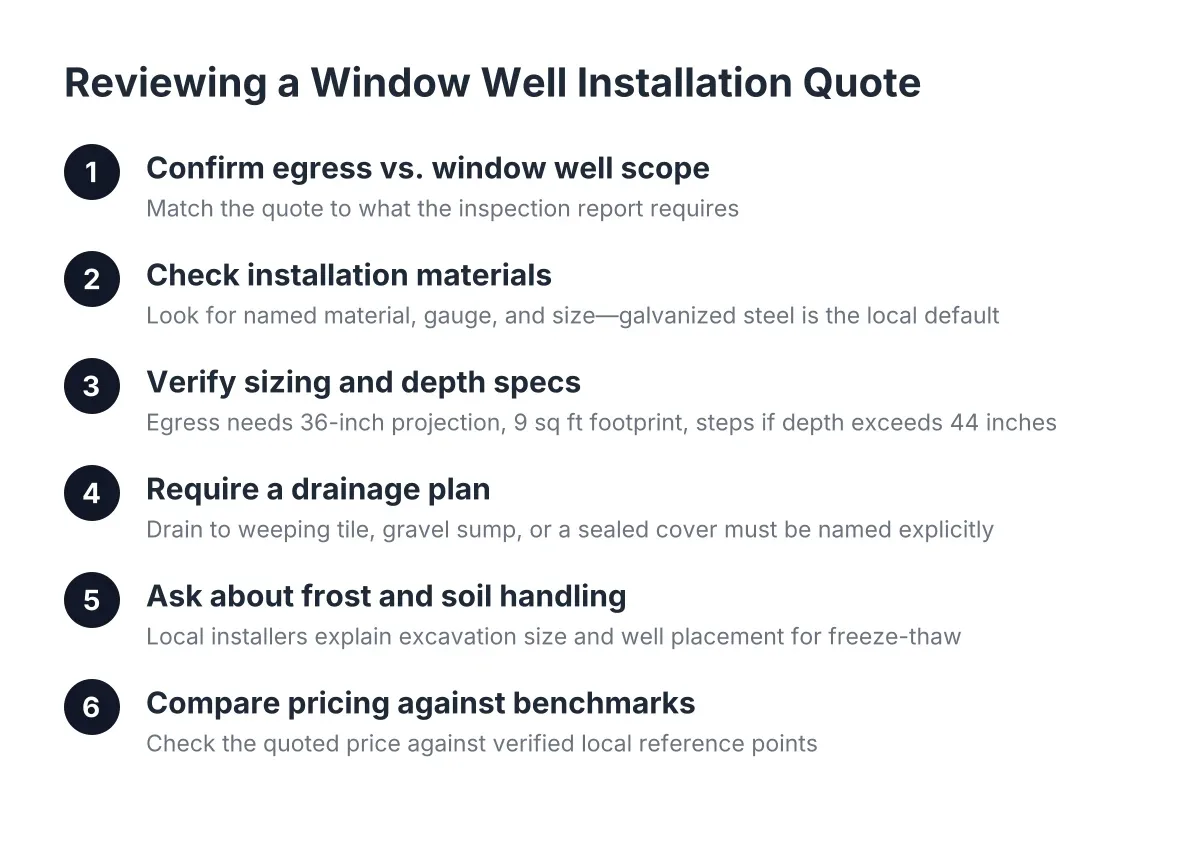
The honest dividing line is not skill, it is soil and scope. A straight well swap in forgiving ground is DIY territory for someone careful. A new egress window well installation in Minneapolis clay, especially under a finished basement bedroom, is where a local installer who knows the ground earns the fee. Either way, the quote should spell out excavation depth, drainage design, well material, and compaction method. If a bid does not mention your soil, the bidder has not thought about your house. As of 2026, code requirements and permit rules can also change, so confirm current egress specs with the city before you commit to dimensions.
If you need basement egress window installation, Minneapolis Window Pros can help.
Prefer to talk it through? Call (612) 482-9787 — a quick call is usually the fastest way to get a straight answer for your situation.