Basement Window Well Installation: Step-by-Step Process for Minneapolis Homes
If you are pricing out basement window well installation, the steps matter more than the sales pitch. Minneapolis is not a generic market. Our frost line runs deep, our clay-heavy soil holds water, and a window well that ignores either one will heave, tilt, or flood. This guide walks through the full process, from choosing the well material to the final grading, so you can decide what to tackle yourself and where a local installer earns the money.
The steps below assume you already have a window opening, or you are adding a well as part of an egress window project. Each step includes what can go wrong, because that is where DIY budgets usually blow up.
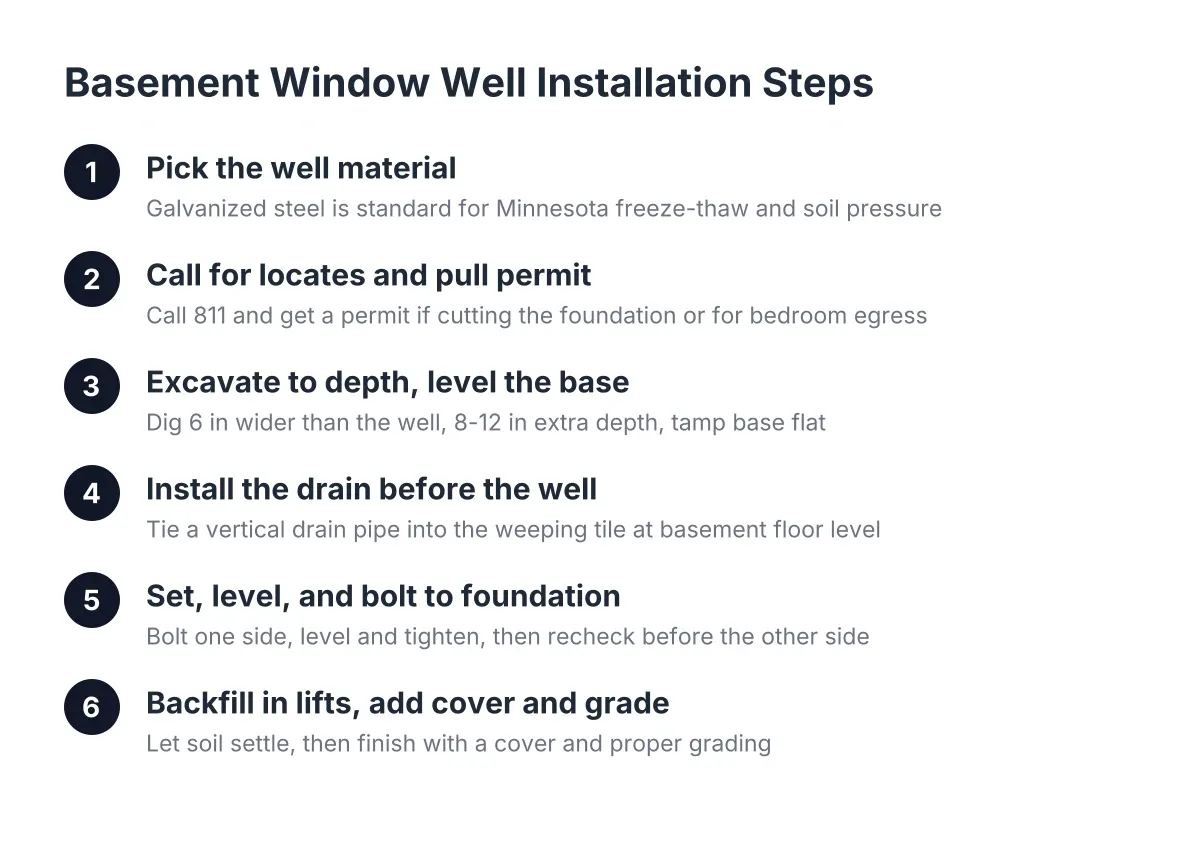
Step 1: Pick the Right Well Material for Minnesota Soil
Start with the well itself, because material drives everything downstream. In Minneapolis, freeze-thaw cycles push against the well walls every winter. A flimsy well flexes, pulls away from the foundation, and opens a path for water.
Your main options:
- Galvanized steel wells. Corrugated galvanized egress window wells are the standard choice here. The corrugation adds rigidity, and the zinc coating resists rust. For a full-size window well egress, galvanized steel handles frost pressure better than most alternatives.
- Composite or polyethylene wells. Lighter and easier for one person to handle, which appeals to DIYers. However, some plastic wells get brittle in extreme cold, and large egress-size units cost more than steel.
- Timber or masonry wells. These look nice around a finished basement window, but they need a proper stone base and take far more labor to build square and stable.
For most Minneapolis projects, a galvanized egress window well is the practical answer. It bolts directly to the foundation, resists soil pressure, and comes in standard sizes that match code requirements.
Choosing the Right Size for Basement Window Well Installation
Size is not a style choice; it is a code requirement. According to HomeAdvisor, IRC egress code requires a window well that projects at least 36 inches from the house with a nine square foot footprint, and the window itself needs a net clear opening of 5.7 square feet. If the well is deeper than 44 inches, plan for a permanently attached ladder. Confirm current 2026 requirements with Minneapolis inspections before you order anything, since local amendments apply.
Step 2: Call for Locates and Pull the Permit
Before any digging, call 811 and get utilities marked. Gas and electric lines often run close to the foundation on older Minneapolis homes.
Next, check permits. If the project includes cutting or enlarging the foundation opening, or the window serves a bedroom, the bedroom egress requirement kicks in and Minneapolis will want a permit and inspection. This is the piece DIYers skip most often, and it comes back at resale. An unpermitted egress window can stall a home sale or fail a point-of-sale review. A permitted, inspected job protects the value of the finished basement you are building.
Step 3: Excavate to the Right Depth and Keep the Base Level
Dig the hole about 6 inches wider than the well on each side and deep enough for the drainage layer below the window sill, typically 8 to 12 inches of extra depth. In our clay soil, the walls of the hole hold shape, but the digging is slow and heavy.
Keep the base level and firm. A sloped or loose base lets the well settle unevenly, and a tilted well pulls its bolts loose from the foundation over time. Tamp the bottom flat before anything else goes in. Then lay landscaping cloth and a layer of clean stone across the base. The cloth keeps clay fines from clogging the stone, which matters more in Minneapolis soil than in sandy regions.
This is the honest DIY checkpoint. Suppose you are a handy homeowner in Longfellow replacing a rusted well on a 1940s stucco house. The digging alone is 2 to 3 yards of heavy clay moved by hand, often around tree roots and old downspout extensions. Plenty of homeowners handle it in a weekend. Just budget your back accordingly.
Step 4: Install the Drain Before the Well Goes In
Drainage is the difference between a dry basement and a mold problem. Water that collects in the well has to go somewhere, and in frozen January soil it will not soak away on its own.
The standard setup is a vertical drain pipe in the center of the well footprint, run deep enough to tie into the weeping tile system at the level of the basement floor. Surround it with washed stone. If your home has no working drain tile, an alternative is a deep gravel sump under the well, but that depends on how well your soil drains. Heavy clay drains poorly, so a gravel-only pit is a gamble in much of Minneapolis.
This step is where a local installer earns their fee. Tying a drain into drain tile means knowing where your tile runs and whether it still works. Getting egress window drainage wrong shows up two springs later as a swimming pool outside the glass. If you are unsure whether your drain tile is functional, have a professional scope it before you commit to a drainage design.
Step 5: Set, Level, and Bolt the Well to the Foundation
Position the well so it centers on the window and sits 2 to 3 inches above the planned finished grade. Check level across the top in both directions.
Bolt one side first. Level it, tighten it, then recheck before tightening the opposite side. Rushing both sides at once is how wells end up crooked, and a crooked galvanized well telegraphs the mistake every time you look out the window. Use masonry anchors rated for the wall material, and predrill the foundation carefully. Cracking the concrete around an anchor hole is the kind of foundation mistake that worries every DIYer, and rightly so.
Seal the Well Where It Meets the Foundation
Run a continuous bead of polyurethane sealant along both flanges, bottom to top, where the well meets the foundation wall. This seal blocks groundwater from sneaking behind the well and finding the window opening. Skip it and you can do everything else right and still get a wet basement wall.
Step 6: Backfill in Lifts and Let the Soil Settle
Backfill around the outside of the well in layers of 6 to 8 inches, tamping each lift before adding the next. Loose backfill settles hard in our freeze-thaw cycles and leaves a moat around the well that funnels water toward the house.
Inside the well, add stone over the drain to a few inches below the window sill. Outside, slope the finished soil away from the house.
In addition, plan to come back. Disturbed soil settles for days after the work, so let it sit about a week, then return to finish grading and top up any low spots. A typical crew builds this return visit into the schedule; a DIYer should too.
Step 7: Add a Cover and Finish the Grade
A clear polycarbonate or metal-grate cover keeps rain, snow, and kids out of the well. Window well covers paired with a bead of caulk around the edge go a long way toward keeping water out of the well entirely. On an egress well, the cover must open easily from inside without tools, so a bedroom occupant can escape. Check that requirement before buying; decorative covers that bolt down do not pass.
Finish by regrading the surrounding soil so surface water runs away from the well, and reconnect any downspouts that discharge nearby. A downspout dumping next to a window well will defeat every drainage step above it.
DIY or Hire It Out: An Honest Cost Comparison
For a straight window well replacement with no concrete cutting, a capable DIYer can do this work. The materials, a galvanized well, stone, sealant, anchors, and a cover, are all available at supply houses. Your cost is mostly sweat. When you are evaluating basement window well installation options, professional service makes sense for jobs involving foundation cutting or egress requirements.
The professional numbers give you a benchmark. According to Angi, installing a window well runs from $500 to $1,500 or more, while adding an egress window and well together averages about $3,900. HomeAdvisor puts window well replacement at an average of $2,200 and full egress window installation at an average of $4,229. Those are national figures; basement egress window cost in Minneapolis varies with soil, access, and foundation type, which is why a written quote on your actual house beats any online average.
Hire it out when the job includes cutting the foundation, tying into drain tile, or meeting the bedroom egress requirement for a finished basement. Those are the steps where a mistake means water intrusion, a failed inspection, or a resale problem, and where professional window well installation pays for itself. A local installer who works in Minneapolis soil every week already knows the frost depth, the clay, and what the city inspector will look for. That knowledge is the real product, more than the steel and stone.
If you need basement egress window installation, Minneapolis Window Pros can help.
Prefer to talk it through? Call (612) 482-9787 — a quick call is usually the fastest way to get a straight answer for your situation.