Can Homeowners DIY Egress Window Installation? An Honest Pro’s Answer
So, can homeowners DIY egress window installation, or is this a job to hire out? A hybrid egress window DIY approach is often the smartest play for many homeowners. Here is the honest answer: yes, some can, but the job is harder than the videos make it look, and the parts that go wrong are the parts you cannot see until spring thaw. This guide walks through the project step by step. At each step, you will see what a handy homeowner can do, what a pro should do, and where the real risk sits. By the end, you will know whether this is your project or someone else's.
One thing up front: this is not a sales pitch dressed up as advice. Plenty of homeowners handle real pieces of this job themselves. The goal here is to show you which pieces those are.
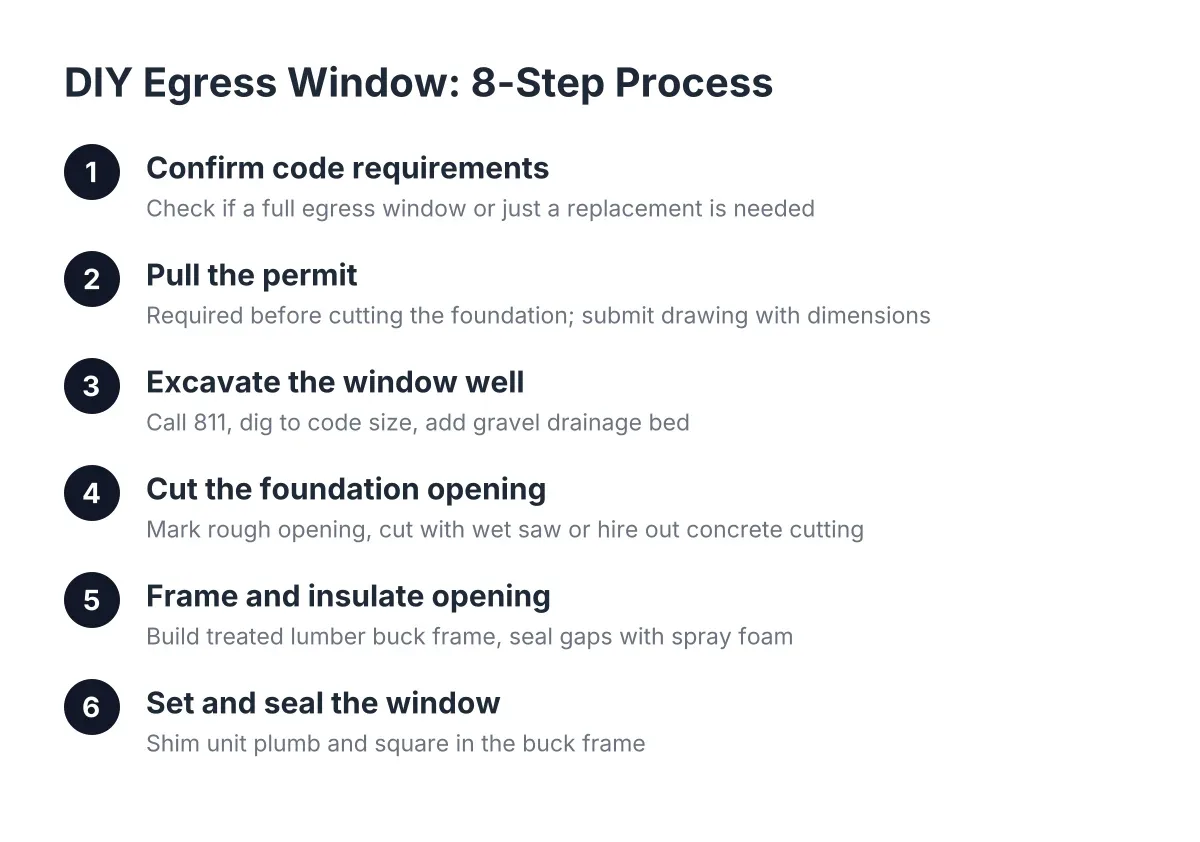
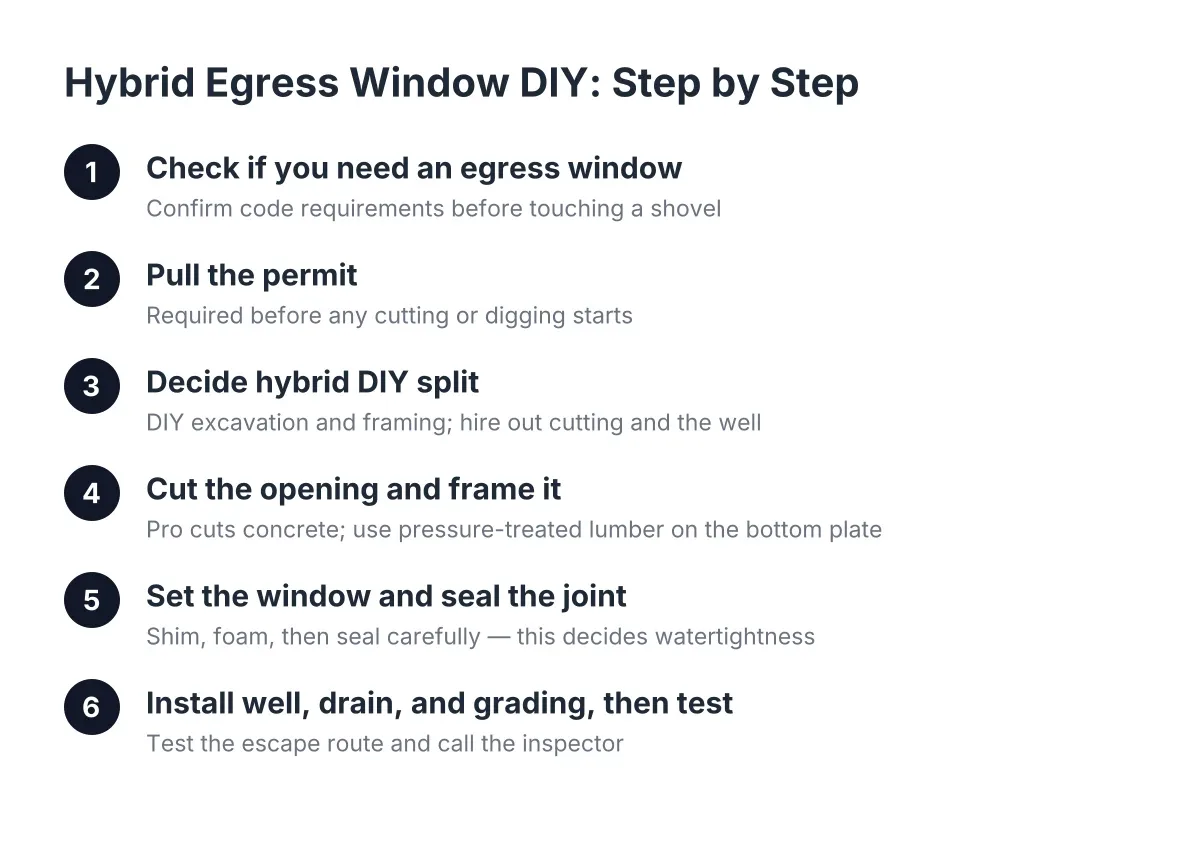
Step 1: Check Whether You Need an Egress Window at All
Start with the code question before you touch a shovel. If you are finishing a basement bedroom in Minneapolis, that room needs a legal escape route. A walkout basement with a door to the outside can satisfy the bedroom egress requirement without a new window. If you have that, you may not need this project at all.
If you do need a window, know the targets. According to HomeAdvisor, IRC egress code requires a minimum net clear opening of 5.7 square feet, plus a window well that projects at least 36 inches from the house with a nine square foot footprint. The City of Minneapolis rental property checklist also requires that a proper egress window or door open to the outside for each bedroom, along with ceiling height minimums.
Measure your existing opening against those numbers. Most older block windows in pre-1990 Minneapolis homes are nowhere close. That means cutting concrete, which changes the difficulty of this project entirely.
Step 2: Pull the Permit Before You Cut Anything
Yes, you need a permit for this work, and yes, homeowners can pull their own permit on a house they live in. Do it before any cutting or digging starts. An unpermitted egress window is a problem at resale, and it can fail you on a rental license inspection.
This step is where a lot of DIY plans quietly die, and honestly, that is fine. The permit process forces you to draw the opening size, the header plan, and the well dimensions on paper. If you cannot sketch those confidently, that is useful information about whether you should be running the saw.
Step 3: DIY Hybrid Egress Window Strategy
Can homeowners DIY egress work in pieces rather than all or nothing? Yes, and this hybrid approach is usually the smartest play for a budget-focused DIYer. You do the labor-heavy, low-risk parts. You hire out the parts where one mistake costs thousands. A hybrid egress window DIY project lets you take ownership of the work while keeping structural decisions in professional hands.
Here is how the tasks break down by risk:
- Excavation: good DIY candidate. Digging the hole outside is sweat, not skill. Doing it yourself can save real money. The hole must meet code dimensions for the well before anyone cuts the foundation, so dig to the plan, not by eye.
- Concrete cutting: hire it out. Cutting a structural opening in a foundation wall takes a wet saw, dust control, and someone who knows what the wall is carrying above it. This is the step that can crack a foundation.
- Window well installation and bolting: lean toward hiring. Setting and anchoring a galvanized well, adding drainage, and grading so water runs away from the house is where DIY jobs leak later.
- Framing and setting the window: solid DIY territory. Basement window installation is forgiving carpentry. The finish work is rarely visible, and the main requirement is that water stays out.
- Interior trim and insulation: easy DIY. Spray foam the gaps, trim it out, done.
For example, say a homeowner in South Minneapolis rents an excavator attachment for a weekend, digs the well hole to spec, then hires a local installer for the cut, the well, and the window set. In that scenario, they trade a sore back for a meaningful chunk of the labor bill while keeping the structural work in professional hands. Nationwide, adding an egress window and well runs about $3,900 on average, according to Angi, so trimming the labor side matters.
Step 4: Cut the Opening and Frame It
If a pro is cutting, your job on this step is prep: clear the interior wall, confirm the layout marks match the permit drawing, and stay out of the way. Concrete cutting typically means going deeper into the wall rather than wider, since egress code is usually about opening height, not width.
If you are framing the opening yourself after the cut, use pressure-treated lumber anywhere wood touches concrete. According to This Old House, the bottom plate must be pressure-treated because it sits on the slab, while the top plate can be standard kiln-dried lumber. Set the new frame on a mortar bed rather than bare block where you can. A mortar bed seals the base and lets you slope the sill so water sheds away from the window instead of pooling under it.
Step 5: Set the Window and Seal the Joint That Decides Everything
Setting the window unit is the satisfying part. Shim it plumb and level, fasten per the manufacturer's instructions, and spray foam the gaps. Then slow down, because the sealing is the whole ballgame.
At this joint, wood, vinyl, and concrete all meet, and each material expands and contracts at a different rate through a Minneapolis winter. The long-term watertightness of the install depends almost entirely on how well the caulk performs across those movements. Use a high-quality exterior sealant rated for masonry, tool it properly, and do not rush it in cold weather. A sloppy bead here is the most common source of the water intrusion and mold problems DIYers worry about, and they are right to worry.
This is also the honest limitation of this guide. If your foundation shows existing cracks, bowing, or water staining near the opening, stop and get a professional opinion before cutting. No article can assess your wall for you.
Step 6: Install the Well, the Drain, and the Grading
Set the window well against the foundation and bolt it per the manufacturer's spec. Galvanized wells hold up well in Minneapolis freeze-thaw cycles, which is why they are the common local choice. Before backfilling, add a gravel drainage bed at the bottom of the well, tied to your drain tile if you have it.
Next, backfill in layers and compact as you go. Grade the surrounding soil so surface water runs away from the well, not into it. Minneapolis clay soil holds water, and frost depth here pushes poorly compacted backfill around. A well that settles and pulls away from the wall in year two is the classic sign of a rushed backfill job.
Step 7: Test the Escape, Then Call the Inspector
An egress window exists so a person can get out in a fire. Test it like one. Open the window fully, climb out into the well, and climb up and out of the well itself. If the well is deep enough to need a ladder or steps, confirm they are fixed in place and usable by someone smaller and weaker than you.
Then schedule the inspection tied to your permit. Passing it protects your resale value and, if you plan to rent the basement, keeps you compliant with the Minneapolis rental checklist.
So Can Homeowners DIY Hybrid Egress Windows or Not?
Homeowners can tackle a hybrid egress window DIY installation, but the full job, concrete cut included, belongs in the top tier of DIY difficulty. The realistic answer for most handy people is the hybrid: dig your own hole, do your own framing and trim, and hire the cut, the well bolting, and the drainage. That keeps the foundation seal in experienced hands without paying full price for labor you could supply.
The money case supports thinking it through rather than defaulting either way. According to HomeAdvisor, a professionally installed egress window averages $4,229, with most homeowners spending between $2,723 and $5,877. Angi puts the national average at $4,244 per window. That is a real line item in any basement remodel cost, and if you are running a basement finishing cost calculator for a full renovation, the egress window is often the first thing to price because everything else in a bedroom plan depends on it.
However, do not let the budget math talk you into the one step that can go badly wrong. A cracked foundation or a chronic leak costs more than any DIY egress window installation ever saved. Get a quote for the pro version, price out the hybrid version, and pick the one that matches your actual skills, not your optimism. Quotes are free, and a local installer who knows Minneapolis soil and frost depth can tell you in one site visit which parts of your specific project are safe to keep for yourself.
If you need basement egress window installation, Minneapolis Window Pros can help.
Prefer to talk it through? Call (612) 482-9787 — a quick call is usually the fastest way to get a straight answer for your situation.